How to: Replace a Main Burner on a NVx heater
WARNING: Always switch off and disconnect electricity supply and close service valve before carrying out any servicing or replacement of failed components.
|
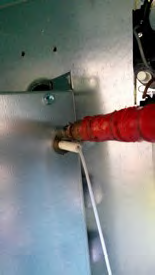
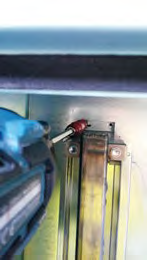
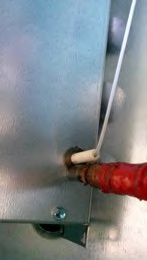
1.1 Remove rectification
|
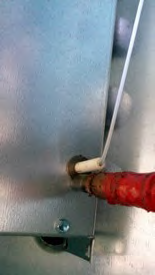
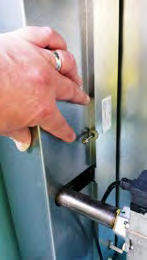
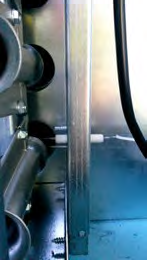
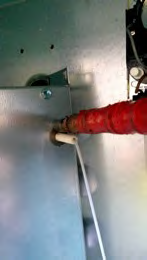
1.2 Remove spark
|
|
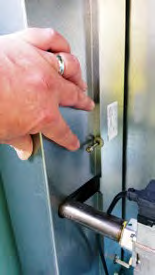
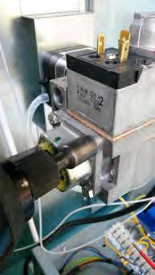
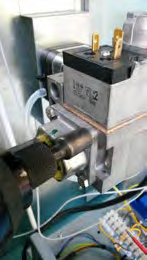
1.3 Remove the electrical
|
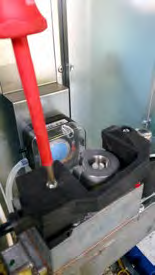
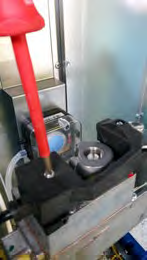
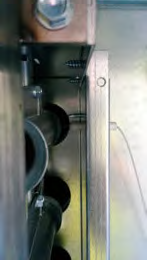
1.4 Remove burner heat
|
|
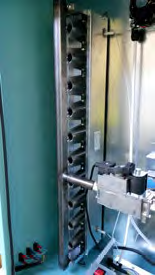
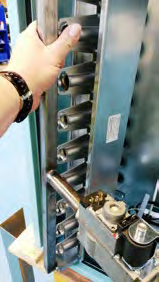
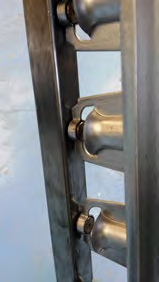
1.5 Burner assembly
|
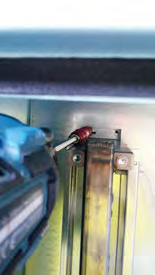
1.6 Remove the four
|
|
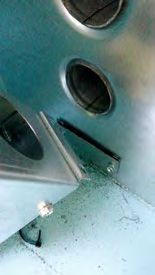
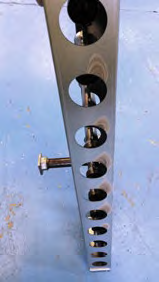
1.7 Remove two fixing
|
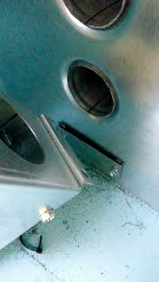
1.8 Disengage from tab.
|
|
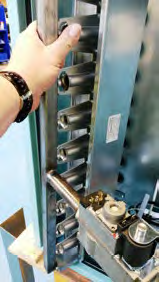
1.9 Lift out burner
|
1.10 Burner assembly
|
|
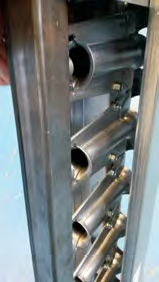
1.11 Using a stiff brush,
|
1.12 Inspect the burners
|
|
1.13 Examine the
|
1.14 Examine the
|
|
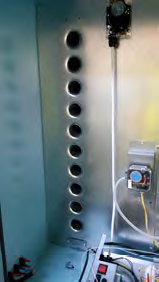
1.15 Replace burner
|
1.16 Ensure burner
|
|
1.17 Replace two fixing
|
1.18 Replace burner heat
|
|
1.19 Replace the four
|
1.20 Replace the electrical
|
|
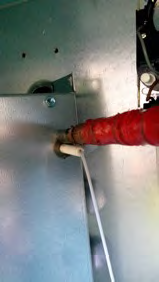
1.21 Replace spark
|
1.22 Location of spark
|
|
1.23 Replace rectification
|
1.24 Location of
|
Every effort is made to ensure accuracy at time of going to press. However as part of continued product improvement,
we reserve the right to alter specification without prior notice.
Replacement NVx Main Burner Doc ref: H2:100 issue1.0 Aug 2017.

